
This is what I have been working on over the weekend: The Vintage Sheet Bubble Dress.

What to see what it looks like on my lil' girl? She was very excited because she pretty much designed it herself...and i'm not kidding...she's not even 6 and she's designing..oh boy...

It took me a while to figure out how to do this easily. After arguing discussing fabric choices, I persuaded her to use this: a vintage sheet...which is perfect for Spring, if you ask me.

Initially I was going to make the whole thing out of this material but after multiple attempts at the top part, I looked for easier ways.
Then Emma, my daugher, brought me this shirt:

and the whole dress clicked in my mind! Plus, this shirt was getting a bit too small for her anyways so what perfect way to use it than to make it into a dress ;)
So I measured from her waist to her knee for the skirt. I wanted space for her to walk/run so my first cut was 12 x 44.

Next I cut out 3 strips of fabric for the bubble parts. They were 12 x 48 inches.
I took the strips, put wrong sides together and did a basting stitch.

Then came the the task of ruffling...sigh, took so long but was worth it ;)

Then when it's all ruffled, sew the ends together. Do that with all three strips.

Ok so back to the shirt...
Take the skirt piece and sew the ends together. You'll have a tube that somewhat resembles a skirt.
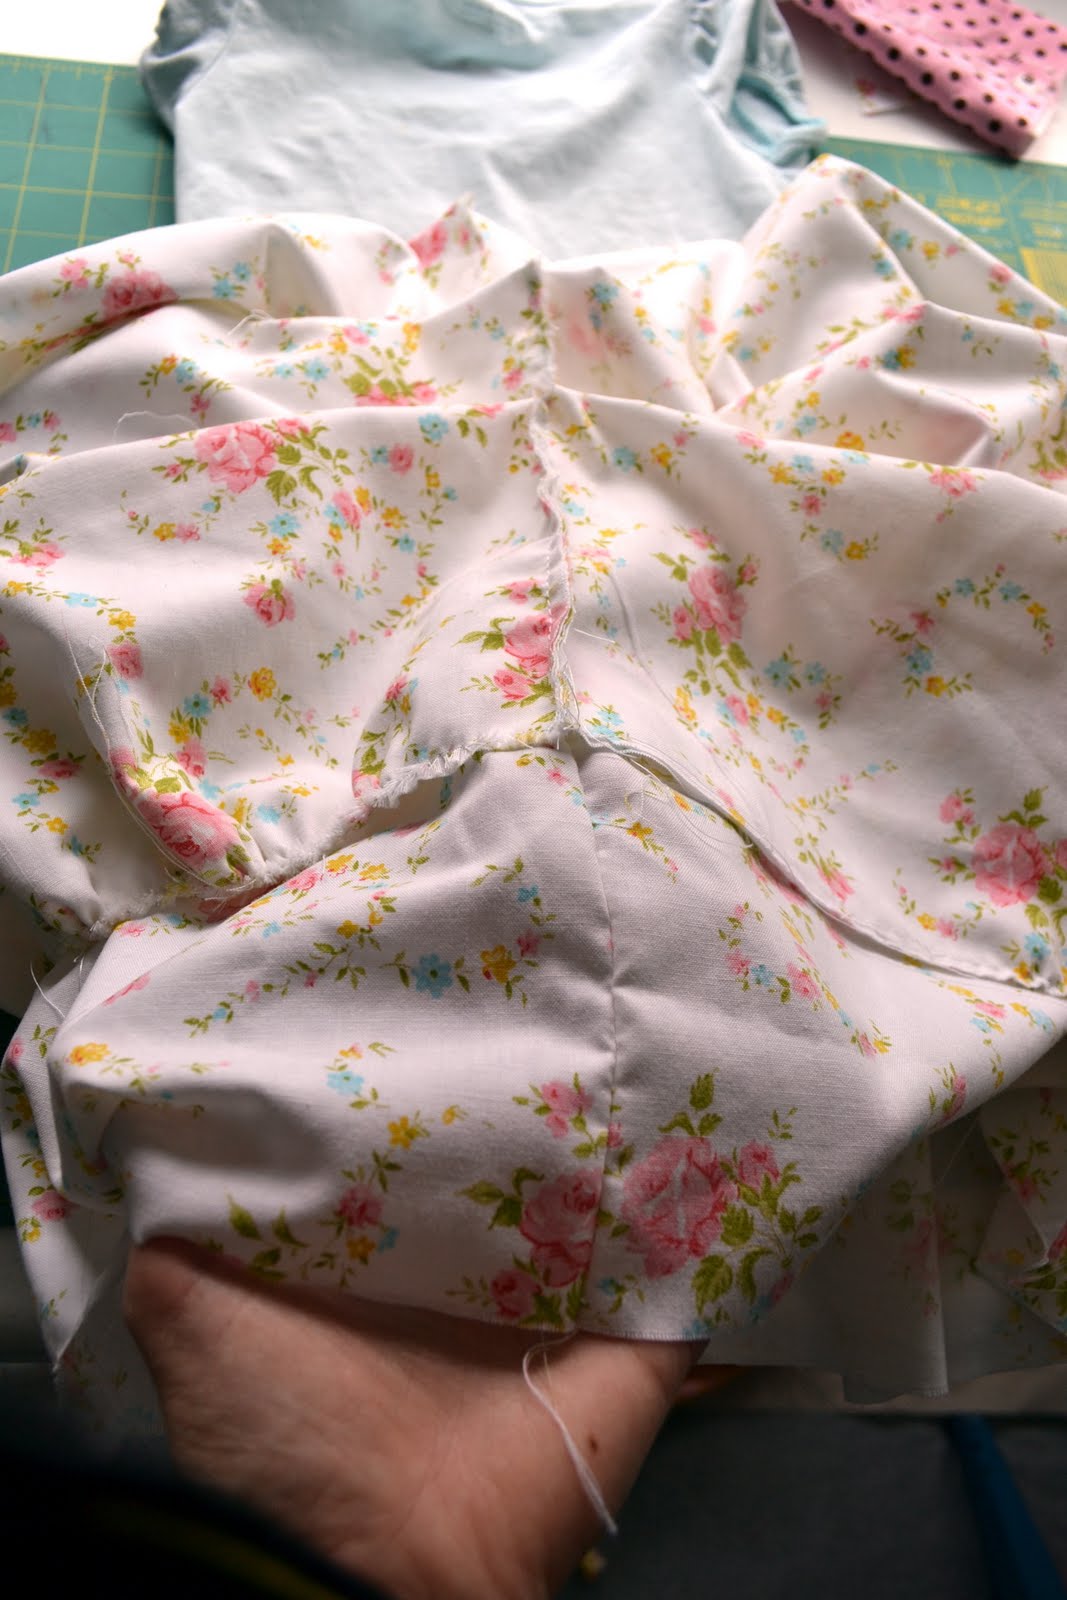
Next, stick it on the shirt so that the right sides of the skirt and shirt are touching.
I lined up the stitch on the skirt to the middle of the back of the shirt:

Then use LOTS of pins to space the skirt equally around the shirt and sew in place the ruffled skirt.

After you do that, you place your ruffles onto the skirt. The top one, I place right on the stitch where the shirt and skirt met. This part is tricky because you also have to make sure the ruffles of skirt pieces are the same circumference as where it'll be placed on the skirt.
You also need to pin the ruffled pieces upside down and right sides together with the shirt because the piece is going to be folded over when it's done...see in the picture below, the ruffled piece is up or upside down. After I sew it, I will fold it over the stitch so it will be right side up.
***which after making it, I should have had the 3 strips of fabric for the "bubble" part different lengths so that they would have held the same ruffleness..does that make sense?***

I then added the middle ruffle about 4-5 inches down, making sure the seam would be covered by the ruffle on top. Do the same things I said above for this and the third ruffle.

Another tip is lining all the stitches together in the back. Thats where I started each one so I made sure they lined up.


After I sewed them all on, I trimmed some fabric underneath because it was TOO poofy.

Wha-la! Main part done...but not done done. If you look closely, there are a few stains around the chest. Not on this dress, you don't!

But this is how it looked so far on my model. She was excited about the progress ;)

After much back&forth, Emma was set to have a yellow rose on the shirt to cover stains. She even picked the fabric. So I went to work to figure out how to do that.
First, I took a strip of fabric, 5 x 44

Put wrong sides together...

Did a basting stitch...

and started ruffling...hmm sound familiar?

After ruffling, I sewed the ends all nice and shut.

Then I started playing around on the shirt. I started with a circle and slowly slowly slowly sewed it on the shirt. I would sew a bit, then work some more around. It was hard to move fast anyways with all that fabric!

Finally at the middle where I just made sure everything was sewed down!

And there you go! All done. Emma was very excited for the BIG flower on the shirt ;)


I LOVED how it turned out. Much better than I thought it would. And this being my first "bubble" dress, I am happy with it.
And I also love that this dress cost me NOTHING.
37 comments:
Wow, that is gorgeous! I seriously like yours better than the original--the vintage sheet is so charming! And your little girl is just adorable.
Rachel @ Maybe Matilda
Seriously cute! The dress and your little girl :-)
So darling Lyssa!
yes yes yes! My friends and I were just talking about making something like this while at a birthday party this weekend, so glad you posted!
It's wonderful! I knew you were going to do something great with those sheets you've been collecting. :)
Incidentally, I made our Easter outfits from a (non-vintage) sheet this year, too. If you're interested, here's the post: http://frugalideasfromtheparsonage.blogspot.com/2011/04/our-easter-dresses.html
Absolutely darling!! You did it again my amazing talented friend!!!!!!!
good work, lyssa! SO cute!
and your instructions were so easy to follow! I might give it a go!
You go, girl!
seriously cute! i'm hoping to make a few skirts or dresses for my daughter this summer! using a too small shirt was a great idea!!!
Great job! Love the dress
Great minds must think alike...I started a dress similar to this yesterday....with blue and white gingham. Hopefully mine comes out as cute!!!!
She is just gorgeous in her dress! What a great mother/daughter collaboration. It turned out beautifully.
very cute! with one happy kiddo!
That came out so great! Thanks for linking this up to our wicked awesome wed link party!
love how it turned out! Great job! :)
The dress is absolutely darling. You did a great job and your daughter is the perfect model.
Babs
That turned out wonderful. And your daughter is a cutiepie! thanks for joining TTF. Have a great weekend.
Ohmigoodness it's fabulous!!! I love that you used vintage sheets and the big yellow flower gives it just the right finishing touch. That's an awesome dress you made!
Awesome my clothes I make always turn out like a joke. I'm not sure where the button is on my machine to make things stop looking stupid is. LOL I am your newest follower! Hope you stop by to see me. Your blog is way too cute!!
http://bestpartofbelieveis.blogspot.com/
&
http://nikkisniknacks.blogspot.com/
~Nikki
this is sooooo cute. looks like you got a little fashion designer on your hands!!! so fun :)
Thanks for linking up to Your Whims Wednesday!
super cute...thanks for sharing!!--connie, www.measuredbytheheart.com
This turned out so cute! Love that she designed it. :)
That is awesome! I love it. And I really want to make it for my daughter :) Her 1st birthday is coming up and I know I have some tshirts laying around that she is growing out of! I'm following you now, would love if you checked out my blog!
krazycraftylady.blogspot.com
wow...i love this. do you want to come over and make one for me and my little girl? i seriously need to pull out my sewing machine.
Oh my goodness. I LOVE this. Makes me wish EVEN MORE that I could sew! SO cute!!
And I'm a new follower! :)
This is seriously a very cute idea!!
I like the cute waist line better than the original!
I'm following you from the Sugar Bee Craft linking party.
Please follow me at:
www.daughterbydesign.blogspot.com
So cute!!! I'm going to make one for my baby girl! I'll just find a cute onsie! Thanks for sharing!
Great work! Your dress looks better than the shabby apple one I'd say! LOVE the yellow flower on the top!
I would love if you came over and linked this project to my weekly Round Tuit party at:
http://jembellish.blogspot.com/
Have a great week!
Jill @ Creating my way to Success
That is so cute. Thanks for sharing over at Tuesday Tell All.
Melissa
MyCraftieLife.Blogspot.com
So adorable! I'm featuring you tomorrow as a Friday Fav at naptimecrafters.blogspot.com
This is super cute! I love the layered bubble look and the vintage sheet.
So cute--I think I might need one of these for myself!
Cute, I love that the skirt has some volume to it. THanks for linking up with DIY under $5!
Totally cute girl. i am amazed that you pulled that off, the dress she picked out was adorable, and you made it even better with that beautiful vintage fabric.
I would LOVE to invite you to link this up at my party! Stop by anytime to say hello !!!
Hugs,
Bella :)**AMAZE ME AUGUST** @ Bella Before and After
This is so beautiful...LOVE IT!!! Thanks so much for sharing!
Your dress turned out so pretty! I linked to your tutorial on Craft Gossip Sewing:
http://sewing.craftgossip.com/tutorial-vintage-sheet-bubble-dress/2011/05/28/
---Anne
Lyssa, that dress is so beautiful! Thank you for the tutorial. I am following you from Steph's blog (The Silly Pearl). I can't wait to give this dress a try on my daughter... Easter is coming up! I love The Shabby Apple dresses!!!! Your daughter has great taste and you are very talented!!!!
I LOVE that you used vintage sheets! What a great way to re-purpose them! I am having a Homemade Year in 2012 on my blog Blissful and Domestic and would love for you to link up to my Homemade Year linky Party:>
http://blissfulanddomestic.blogspot.com/p/my-homemade-year-linky-party.html
Post a Comment